By: Mike Fifer
We have all run into the problem of not having the proper length we need to connect Kato Unitrack, so here is my answer.
First you will need a tape measure, a razor saw, rail nippers, a small flat file and some Testors plastic cement.
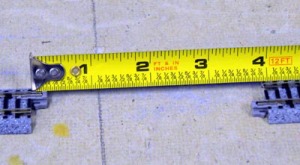
The first thing to do is to determine what size piece of track you will need.
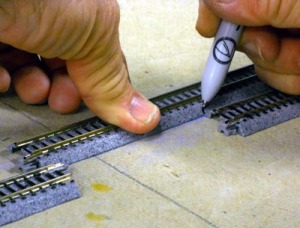
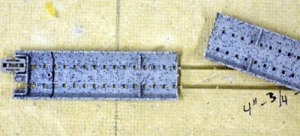
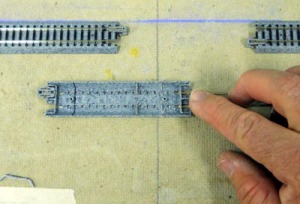
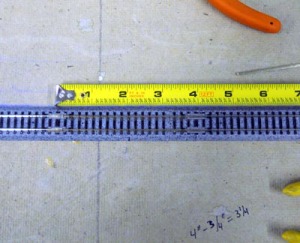
In this case I needed a 4” piece and using a fine point sharpie or pencil mark the length on any piece of longer Kato Unitrack.
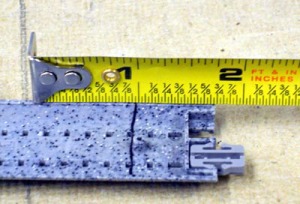
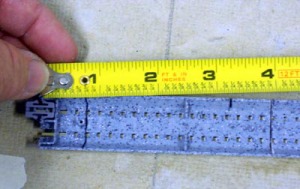
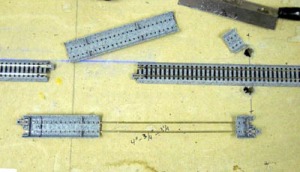
Our first cut to be made will be one either end of our track piece to be cut and you can see that we need to leave 3/4“ of the end to retain our joiner section. You can also see that I subtracted the ¾” from our original measurement and the remainder of 3 ¼” is the next length to cut from the other end of the piece.
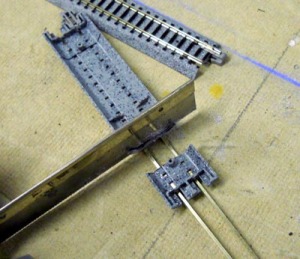
Once the second cut is made the piece of roadbed to be removed is now carefully popped off the rail.
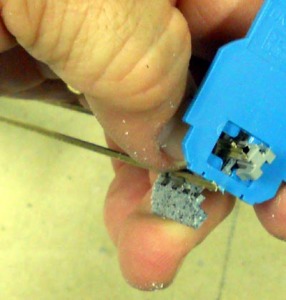
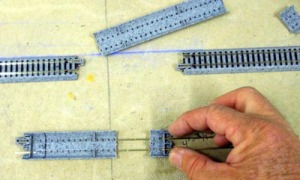
Now remove the Unijoiner from the ¾” end section and slide it towards the longer end.
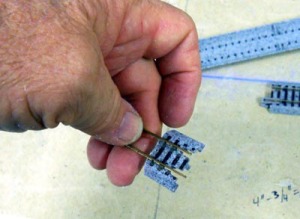
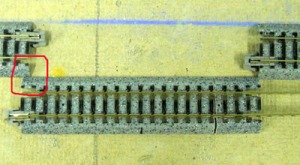
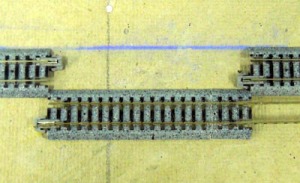
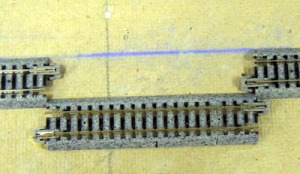
Now we need to test fit the piece we have made, and oops it is still a little long so we need to cut a small slice out to shrink it some more.
Now that our slice has been cut out slide the short end back down and re-test fit. Now the piece fits perfect.
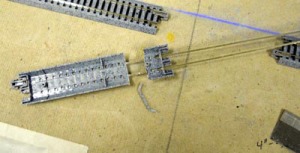
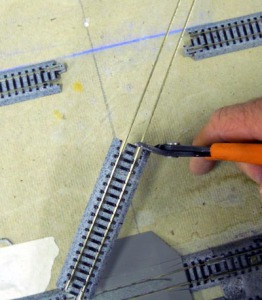
Now using your rail nippers cut the track flush with the end of the short cut end and file smooth with an emery board or small flat file.
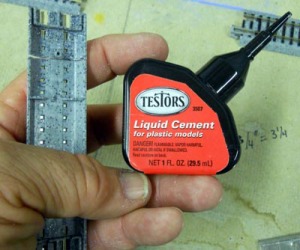
At this point you have the option of gluing or not gluing the road bed together. The section will work either way but I prefer to glue them and I find that Testors liquid cement works well and bond pretty fast.
Once glued you can re-install the Unijoiner that you took off to slide the small section and you have now created your own 4” section of track and it looks and fits perfectly!
This same procedure can be used to get specific degrees of radius to meet certain needs as well.
I hope this is useful and saves some of the frustration of having to struggle to find that perfect length section of Kato Unitrack.

